


A love letter to garlic
Grow it, smell it, lick it, love it... and preorder it from us right now!


Welcome to Lo fi life, a cheerfully unsophisticated newsletter about gardening, cooking and things that are good. Not subscribed yet? Click the button:
Notes:
Today’s newsletter is a bonus PSA to all Australia-based subscribers who might like to order our locally grown organic garlic in time for Christmas. If you are a garlic lover, this garlic is for you. Limited preorders are available here, now.
If you are not Australia-based but love garlic, read on - I have some garlic-growing tips that will be especially useful for anyone who lives in the Northern Hemisphere (it’s about time for you to sow your garlic!)
If you’d like access to the full archive of my gardening emails and recipes, please consider becoming a paid subscriber. This summer I’ll be sharing some delicious recipes that are heavily laced with garlic for all my paid subscribers, so it’ll be well worth your while :-)
Wanna keep reading for free? That’s fine too! Please do me a solid and share this newsletter with a friend. I’d love to be able to get my newsletter in front of more people - your help with that would really mean a lot! Click the button below to share.
BALINGA GARLIC 2023 - AVAILABLE FOR PREORDER NOW
First up, we are so pleased to announce that preorders are now officially open for our 2023 crop of Balinga Garlic (within Australia only).
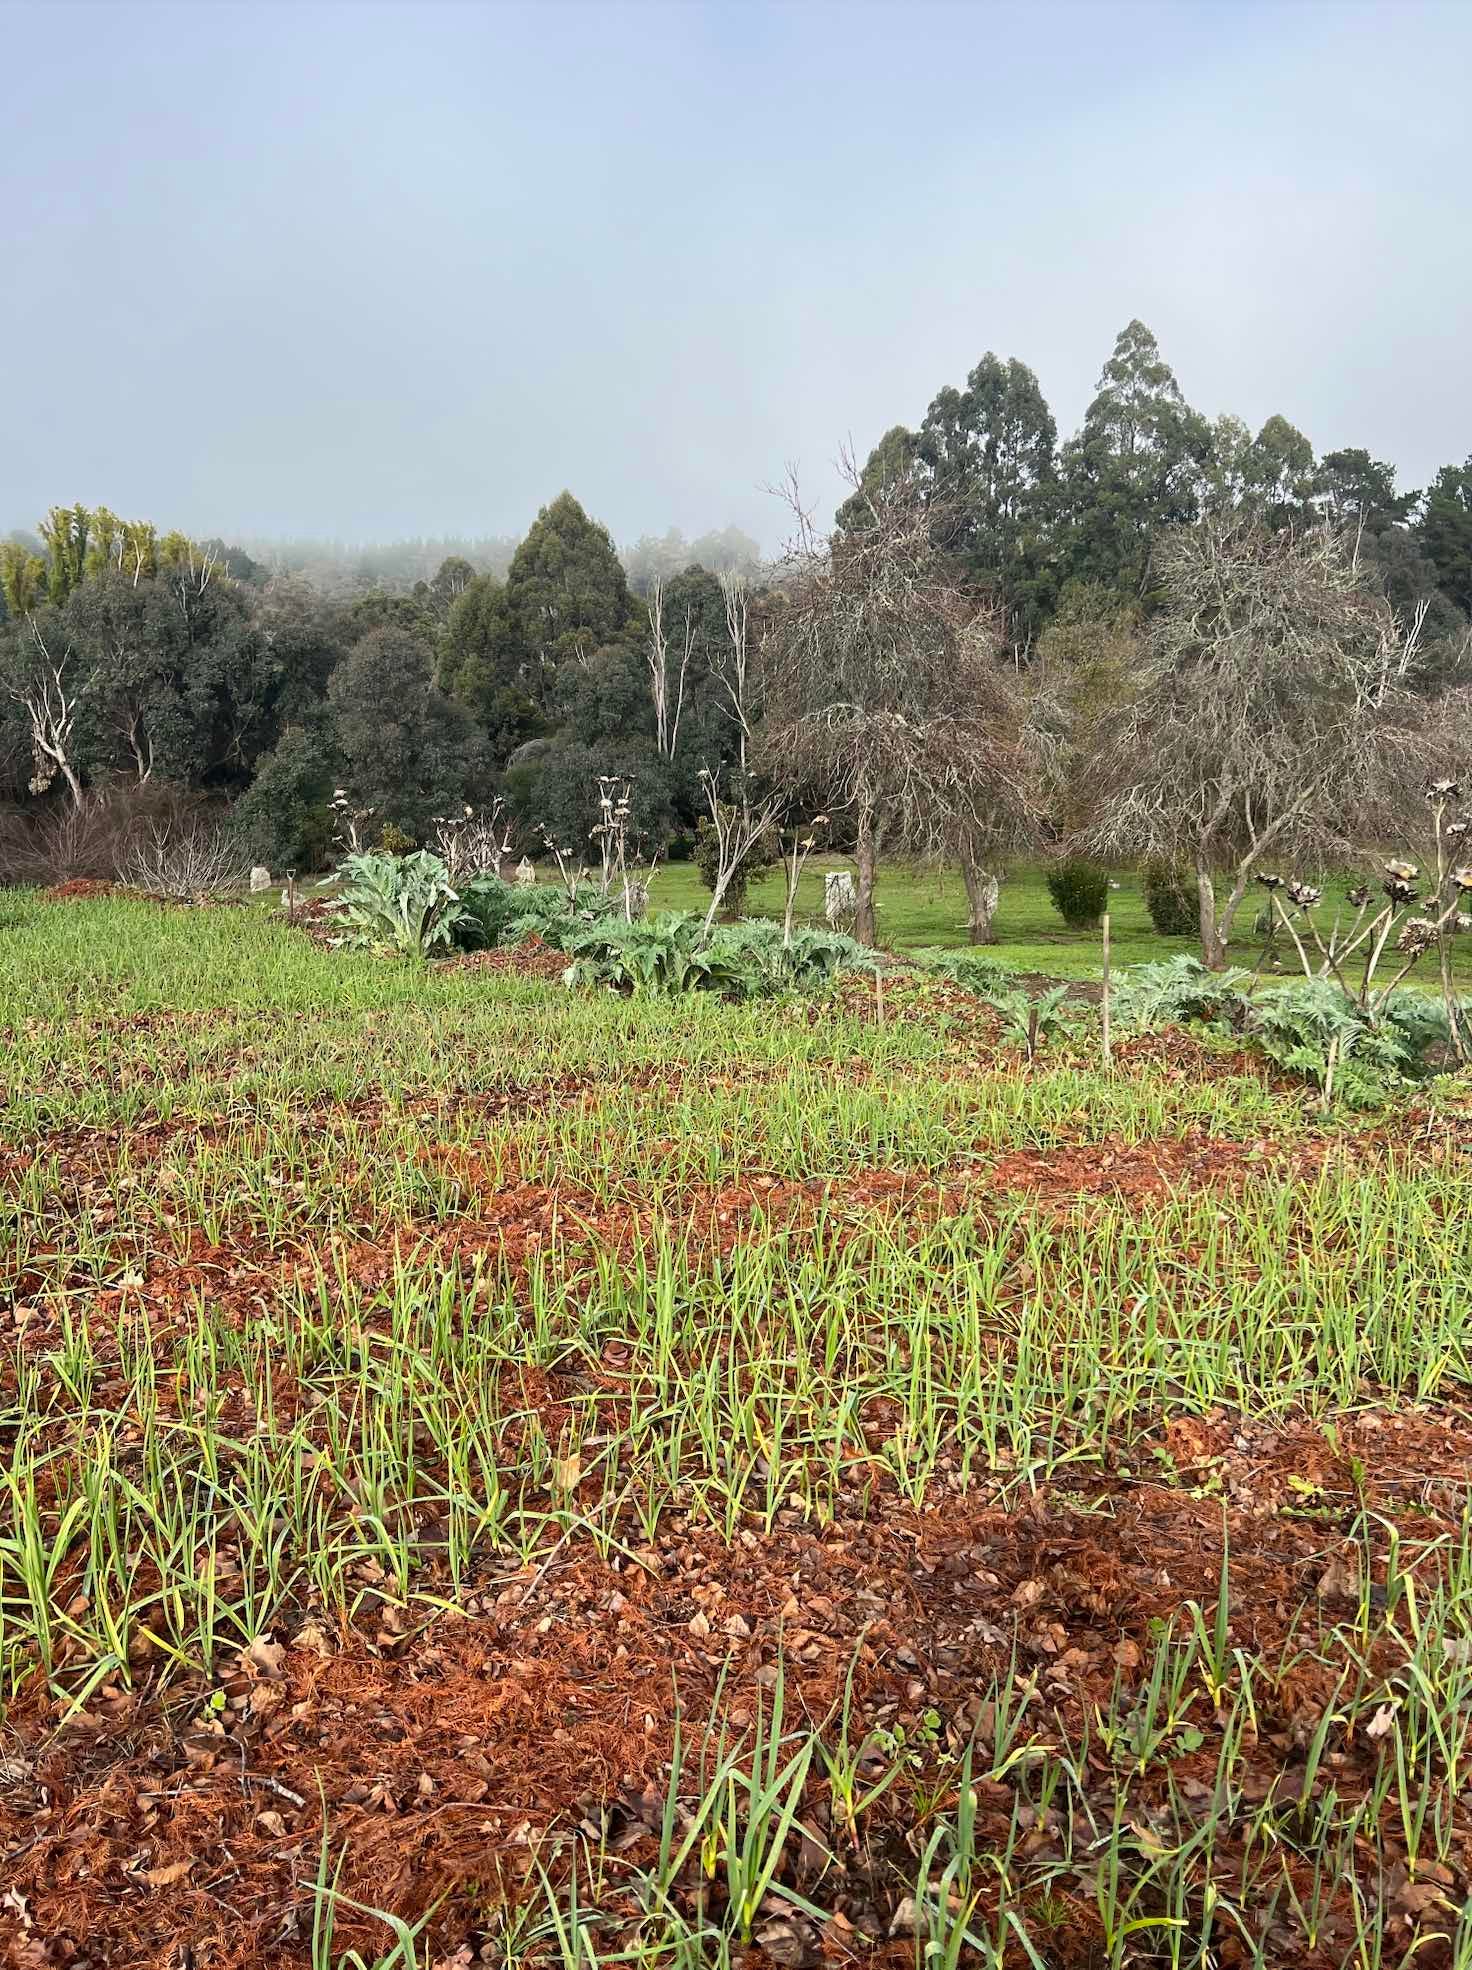
This year promises to be a good one! As always, our garlic has been hand sown from stock that my family has been saving for over a decade. It has been fed on nothing but locally sourced cow manure, fallen autumn leaves and sunshine, watered with winter rain and it is looking B-E-A-UTIFUL!
Like last year, we are offering a limited number of preorders for our garlic. We never know exactly how much we’ll harvest come summer, so preordering guarantees you’ll get a taste of this year’s crop.
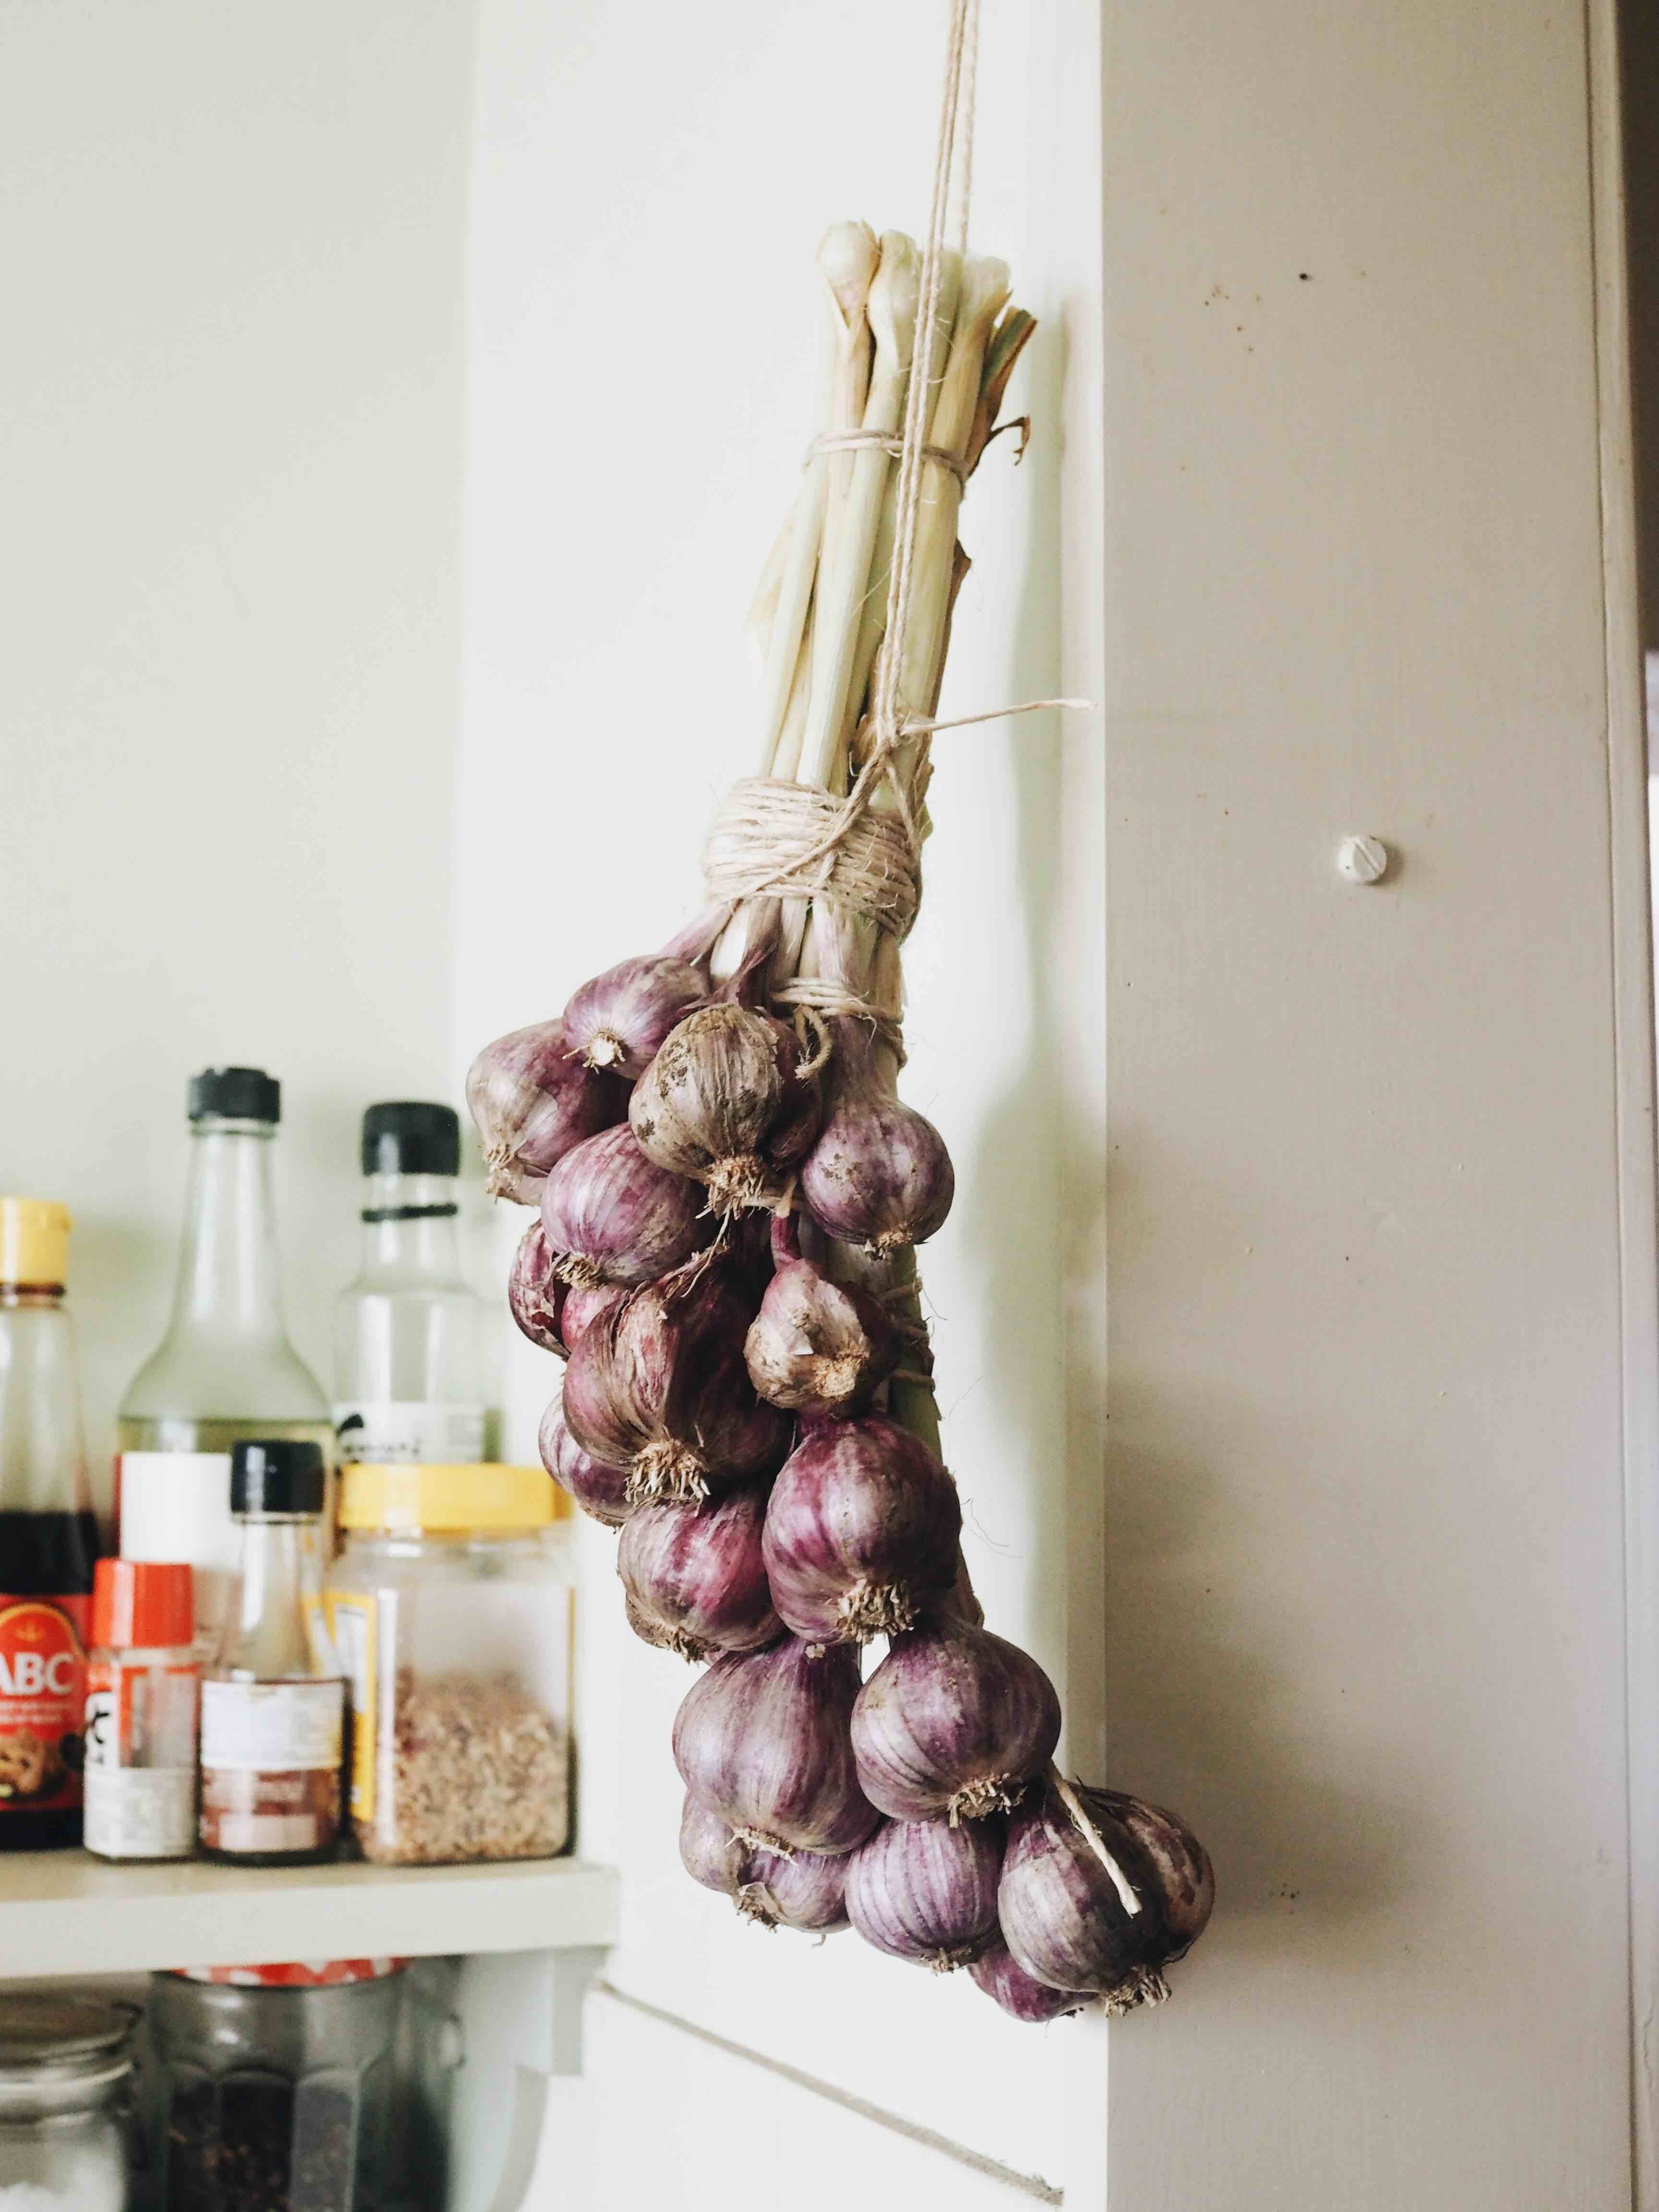
It also means you’ll be the first to receive your garlic once it’s been harvest, dried and plaited :-)
So, if you want to have yourself a very garlicky (and totally delicious) Christmas, get your preorders in while stocks last! Click the button below to place your order - we can’t wait to share our garlic with you!
Garlic growing 101
Down in the southwest of WA (where we grow our garlic) it’s honestly pretty easy. All we do is work a bit of manure through the (clay-based, friable, crumbling, frustratingly perfect) soil, poke a few billion holes in the ground with the end of a long rusty and ancient metal pole, and plop ‘em in (in a full-sun position). We scatter autumn leaves on top and then weed them and wait for them to do their thing. For the most part, the winter rains keep them watered and the soil is so nice that they are pretty well fed without a lot of effort on our parts. Things are different in the city, and if you want to grow garlic successfully it can take a little more effort.
Here’s what to do:
1 - Enrich your soil (but not too much)
This is one of those gardening tips that is infuriating for beginner gardeners. ‘Water your plants, but not too much’, ‘fertilise them, but don’t over-fertilise’. Leaves you asking endlessly HOW MUCH is too much?
For garlic, you don’t want to be sowing your cloves in Perth’s coastal ‘Bassendean grey’ soils without adding any organic matter at all, but it also doesn’t need super rich soil. When the soil is too rich, with too much nitrogen, the garlic will tend to grow leafy and green on top (and you’ll rub your hands with glee thinking you’re about to get a bumper crop) but there will be little to show on the bottom - the head will be small. This is because garlic, like other root crops (carrots, beetroots) will preference top-leaf growth rather than root/clove growth if exposed to too much nitrogen.
If you have dry, sandy soil like mine, your best bet is to add a little clay - just enough to help your soil lose its hydrophobic summer dryness - then work through a good quality, mild animal manure. A well-rotted cow or sheep manure works well as they aren’t super nitrogen rich. Avoid chicken manure which is higher in nitrogen (and I have it from a good source you should avoid horse manure too).
Adding animal manure instead of powdered blood and bone or a liquid feed will help improve the quality of your soil in the long term. It will add to the soil structure and it won’t add too much nitrogen to your soil, meaning you should get good bulb growth. You can add compost from your compost tumbler if you like too, just avoid the really super-powered fertilisers and the high nitrogen animal manures and you should be A-OK.
2 - Keep your patch weed (and plant) free
Garlic is a bit of a loner. We find it grows best when it is the ONLY thing you plant in the patch. Which kind of goes against my usual ethos of cramming plants in everywhere I can and growing a wide diversity of different things all smushed in together. The thing about garlic is, any competition from other plants or weeds will likely result in smaller bulbs. So keep your garlic patch free of everything but the garlic plants, and make sure to weed regularly.
3 - Mulch, mulch, mulch (but not too much! ha!)
The way we like to keep our weeds at bay down here is to scatter dry autumn leaves on top of the soil immediately after planting our garlic. There are sooo many random seeds floating around down here, the soil is a breeding ground for everything - the good, the bad, the ugly. The leaves help suppress the germination and growth of any weeds we’ve churned up when working the animal manure through our soil.
Because the garlic shoots out from the clove so bloody vigorously, it can push up and burst through the (~5cm) layer of leaves while other plants’ shoots are suppressed (and sometimes their seeds don’t even germinate). Once the garlic has shot, we scatter on thinner layers of leaves every week or two (my Dad’s favourite way to do this part is barefoot in a dressing gown) to continue suppressing weeds that might otherwise pop up.
The thing about autumn leaves is they are such an untapped (and free!) resource in the city. You can absolutely use mulch (I’d go for a lupin mulch or pea straw and I’d add it more thinly and often - maybe about 1-2cm at a time), but if you or your neighbours have deciduous trees, autumn leaves make a fantastic mulch to throw on your garden, and left in the city they just break down and go to waste.
Last thing about mulch - if we have a really wet and rainy spring, hold off adding any more mulch. And if your pre-existing mulch is thick and water-logged, thin it out a little towards the middle of spring. By the time summer arrives we want the soil to be drying out, and a week or two before harvesting your garlic you want to cut off water to the plot too.
Too much water-retentive mulch towards the end of the garlic’s growing period can cause the bulbs to split open (the water rots away the outer layers of skin which hold the bulb intact). We want to avoid this and get the moisture levels just right. Which brings me to my next tip…
4 - Water just enough (and not too much)
I’m realising as I write this how much of garlic-growing is about striking a good balance between certain things. Just enough manure, not too much nitrogen. Thick mulch at the start to suppress weeds, thin mulch at the end to allow the soil to dry up. It really is a little garlicky dance we do.
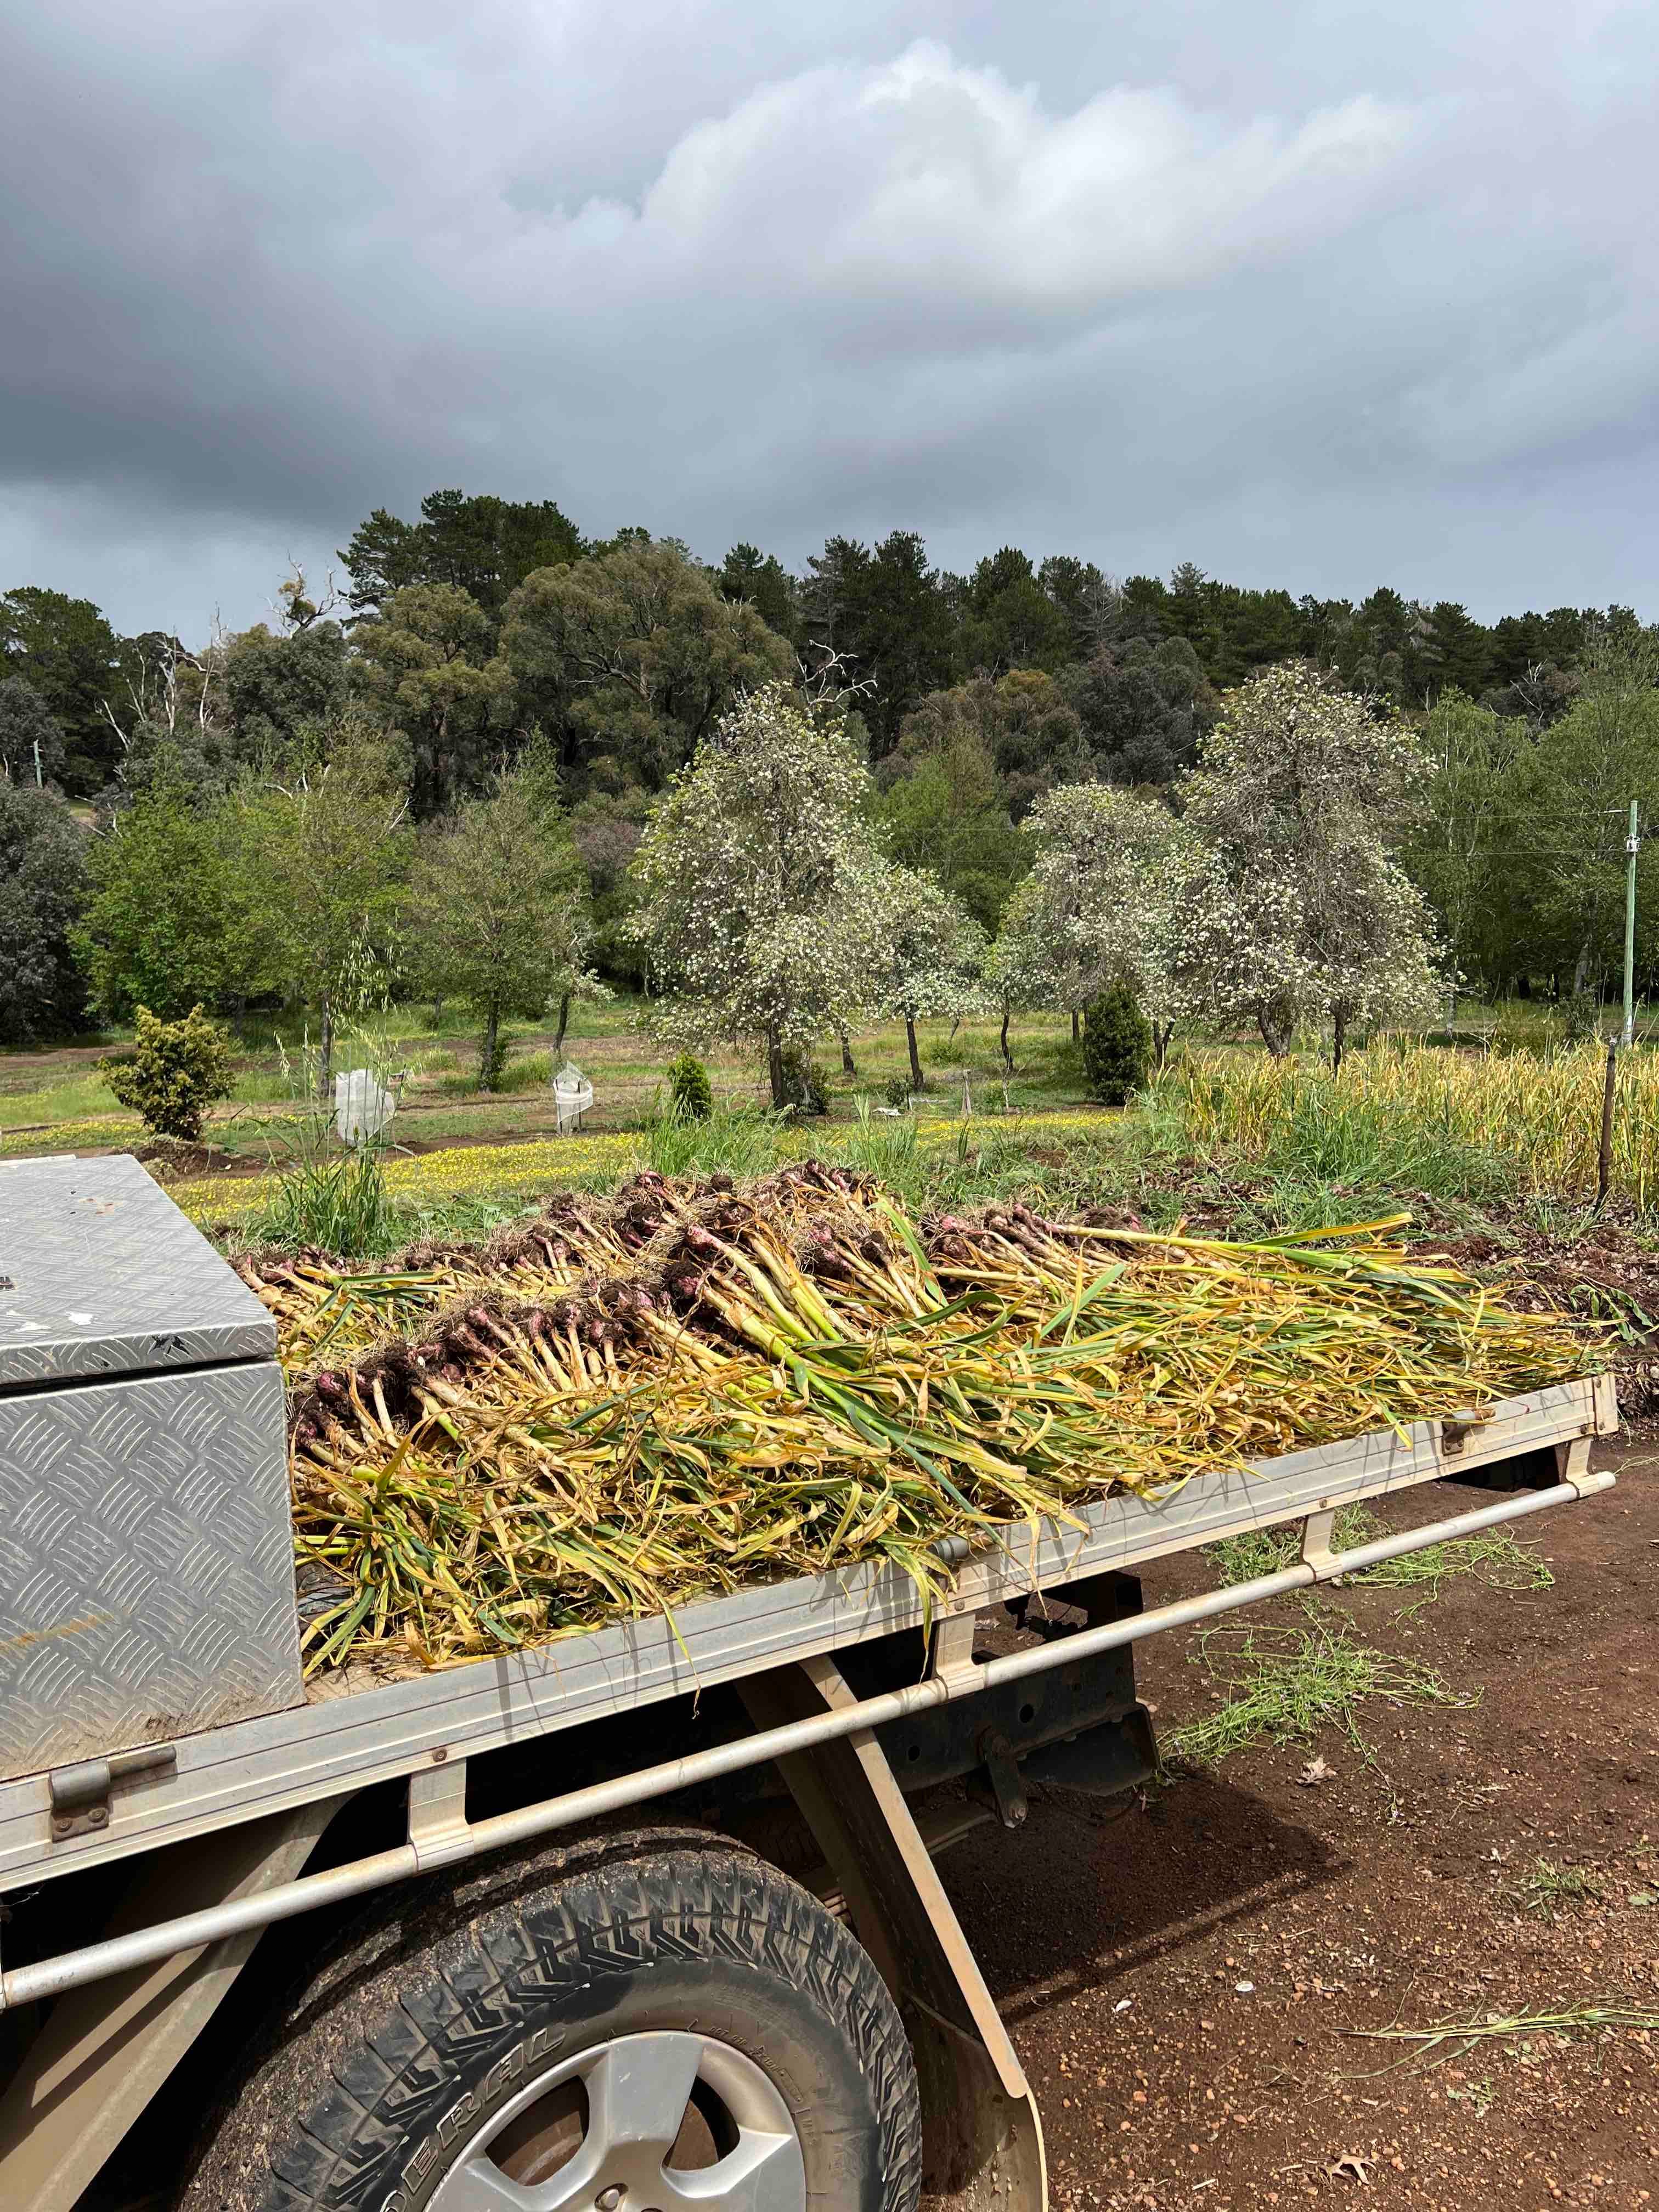
Honestly though it’s really not that complicated. The great thing about garlic growing is that (although it takes 9 months from planting to harvesting) it does most of its growing over winter, so it barely needs any irrigation. As the weather warms up (and if we have a dry spring, not a wet spring) you may want to give your garlic a little water every few days, so that it continues to grow up until the end of spring/start of summer. But once you notice the outermost leaves of the garlic plant beginning to yellow, stop watering and try to let the soil dry out for 1-2 weeks before you begin harvesting.
The yellowing outer leaves of your garlic plants are a sign that the garlic is almost ready to harvest, and you want the soil to be nice and dry before you harvest. Firstly, because it makes harvesting easier, secondly, because too much moisture will cause the heads to split. If your heads do split, it’s not a really big deal. They’ll still taste delicious. But we find that when a garlic bulb splits it has a shorter shelf life compared to the garlic bulbs that stay wrapped inside a few outer layers of skin. So eat your split bulbs first.
5 - Plant in direct sun
I should probably talk a little about actually planting the garlic shouldn’t I! I’ve gotten ahead of myself with all this talk of harvesting. Once you’ve improved your soil (before you even think about mulching), it’s time to plant your garlic. Actually before you even do that make sure you’re selecting a patch of garden that receives full sun all day.
This is all topsy turvy. This should’ve been point 1! Just remember that there’s every possibility we live in a block universe where yesterday, today and tomorrow all exist simultaneously in a permanent fabric that we’re moving through, in which case writing anything in an appropriate order is unnecessary.
But yeah. Find yourself a sunny patch of garden that gets at least 6 but preferably 8 (or more) hours of sunlight a day. Then go back to step 1 and improve the soil! Then jump ahead to step 6…
6 - Spacing and sowing your cloves
First up, hopefully it goes without saying that you should be planting one clove at a time, but I find sometimes these points which are seemingly obvious to seasoned gardeners are actually never mentioned in gardening guides. Everyone forgets the basics!
One single clove will turn into the full head of garlic. It’s really cool. In fact, our first year of garlic growing we pulled a HEAP of our garlic too early, and the heads didn’t look like garlic heads at all. They hadn’t split up into individual cloves yet - they looked more like onions or leeks when sliced through the centre - a single bulb! I couldn’t believe that the cloves formed so late in the garlic’s development, but they do.
Anyway, plant one clove at a time, about 5cm deep and space your cloves 10cm apart. Taken to their natural conclusion, these spacing suggestions mean that if you are a real garlic fiend and you want to grow a whole lot of garlic, you’ll need a whooleeee lotta space. How much should you be planting? How long is a piece of string? How much space do you have in your garden that you’re willing to give up for 9 months and how stinky do you want to be this Christmas? All decisions for you to mull over while digging animal manure through your soil. Fun!
6 - Choosing your varieties
There are, broadly, two kinds of garlic - hardneck and softneck. But actually there are a heap more varieties within those two categories. The once we’re growing this year are:
Hardneck Italian purple
Softneck Italian purple
One that is either Rojo de Castro or Spanish White
Elephant garlic
The truth about garlic varieties is that once you get down into the weeds there are sooo many different kinds you could try growing. Which is part of the fun. The thing that is substantially less fun is that most of the varieties grown over east aren’t allowed to be sent into WA! Garlic is one of the plants that are subject to all sorts of quarantine restrictions, so if you spend much time lurking garlic sales on the Diggers Club you may find yourself disappointed.
The good news is that if you buy our garlic this summer (and manage, somehow - inexplicably - to not eat it all) you can sow the leftover cloves yourself once autumn rolls around!). The other good news is that basically all garlic is delicious, so just get your hands on whichever variety you can and give it a go!
Ultimately the thing that leads to delicious garlic is simply growing it yourself. Homegrown garlic is juicy, pungent, sticky and full of flavour. You’ll never want to go back to that bleached, dry, stale stuff from the shops again!
Love the idea of your dad mulching barefoot in his dressing gown! 😍
I did think I could just shove a garlic clove in the ground to grow some, but reading your tips, & as I actually live right in the 'Bassendean grey soil ' zone, sounds like no great result would be expected! So I will pre-order a lovely Balinga braid instead. :)